Optimizing images is an important aspect in website development. Normally, an image taken from those high resolution cameras are very huge and usually intended for portraits, banners and everything. However, if you are using it for websites, they have to be reduced significantly in size and should be optimized to become lightweight.
Today, I will teach you how to resize and optimize images using photoshop for website use.
- Open the file.
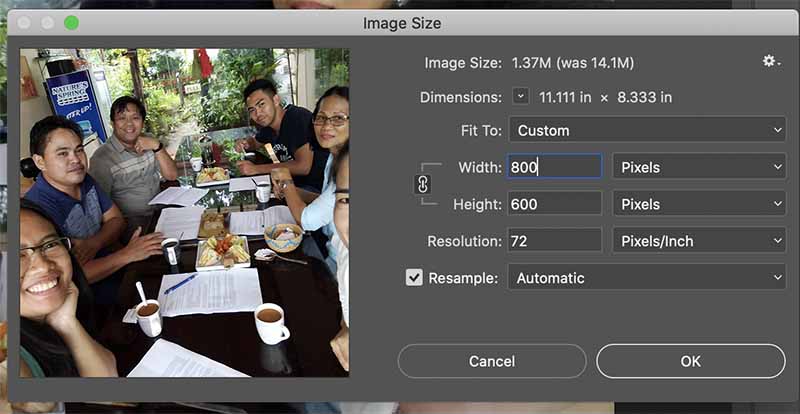
2. Resize the image first. Hover to Image tab > Resize Image
Put in the desired image size. For normal image size for posts and pages, you may want between 500px to 800px of width. Click Ok.
3. The next thing that you want to do is to save it in jpeg format.
4. Hover to File > Save As. Choose jpeg. And then click Save.

A small window will appear, try to reduce the quality of the image. The image lower quality may not be very visible to the naked eye unless you reduce it that much. I suggest you stick between 50-80kb for an image that has around 700-800px width.
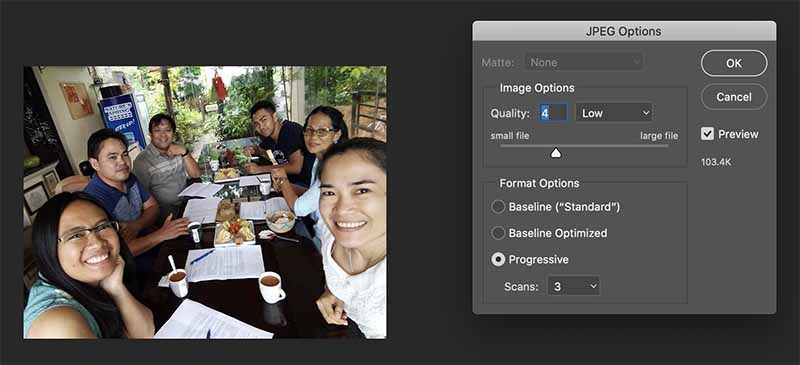
You can actually see the quality as you try to adjust that quality scroll bar. You can also see the file size of the file as you adjust it. Click Ok.
Kindly read “Why Optimize Images in Your Website” to understand why you need to optimize your images.